How To Continuously Test Flogo Activities With Jenkins
Unlock the secrets to continuous testing for Flogo activities with Jenkins and Travis-CI. Elevate your integration game with automated testing after every GitHub push.

In 2016 TIBCO announced Project Flogo as an ultra lightweight integration engine. It is the lightest way to connect IoT devices being up to 20 to 50 times lighter than Node.js and Java® Dropwizard. Project Flogo was made available as Open Source Software because TIBCO believes there is a better way to integrate IoT devices. With it being Open Source and easily extensible, you want to make sure that the activities you build remain working after each check in on GitHub. These are a lot of words to say “How can I test my activities every time code is pushed to Git”?
Depending on where you store the source code and how publicly you want to have the code available you have a few options. In this post I’ll use Jenkins to show how I can test activities with a local git server and I’ll use Travis-CI for activities on GitHub
Intro
Before we begin let me quickly walk through my project structure as some of the scripts are based on that structure. I like to structure my extensions to Flogo in a category and have separate folders for activities and triggers. A sample layout would look like this:
├───<Repo root>
│   └───activity
|   |   └───<my-activity>
|   |       |───<all my files>
│   └───trigger
|       └───<my-trigger>
|           |───<all my files>
A real life repository I created looks like this. The name of my repository is called Concat and the other files are below it.
├───Concat
│   └───activity
|       └───my-activity
|           |───activity.go
|           |───activity.json
|           |───activity_test.go
Jenkins
Installing the Go Plugin
If you have just installed Jenkins, chances are that Go wasn’t one of the programming languages you had in mind. Luckily there is a great plugin for Jenkins that makes working with Go code very easy. To install the Go Plugin for Jenkins go to Manage Jenkins -> Manage Plugins and search for Go Plugin on the Available tab. After that select Download now and install after restart to restart Jenkins.
After you’ve done that, it is time to select the version of Go you want to use for the builds. Go to Manage Jenkins -> Global Tool Configuration and look for the Go section. Click on the button Go installations… and specify a name for your installation. Note that the name itself doesn’t have any significance, but it will make it a lot easier to find the right one later on. Check the box for Install automatically and select the version you want to have installed. After that click Apply follows by Save.
Configuring the build job
Within Jenkins create a New Item and select a Freestyle project. In my case, since I have a category which has a bunch of activities, I have a parameterized project.
I’ll assume you know how to pull the code from your source code management system, so I’ll skip the section on that.
In the Build Environment section you need to check two boxes:
Delete workspace before build starts: This makes sure you always start with fresh code and nothing lingers around;Set up Go programming language tools: This was added by the Go Plugin and lets you pick the Go version you configured earlier (this is where the name comes in).
In the Build section add a new build step that executes a shell command. The command(s) to execute are:
## Go get the Project Flogo dependencies
go get github.com/TIBCOSoftware/flogo-lib/...
go get github.com/TIBCOSoftware/flogo-contrib/...

## Go get the test dependencies
go get github.com/stretchr/testify/assert

## Find all the activities and run the test cases for them
for path in ./activity/*; do
    [ -d "${path}" ] || continue # if not a directory, skip
    dirname="$(basename "${path}")"
    ## Run the test cases
    go test ./activity/$dirname
done

## Create a release zipfile that strips out all non-required files
zip -r v${BUILD_NUMBER}-${JOB_NAME}.zip ./activity/ ./connector/
If your test cases succeed, so does your build otherwise you’ll need to tweak your code :-)
Travis-CI
For code that exists on GitHub you can make use of Travis-CI. Travis-CI is continuous integration for projects hosted on GitHub and provides automation for testing building and deploying. They have quite a good Getting Started guide, so I’ll skip that part of the setup and dive right into it.
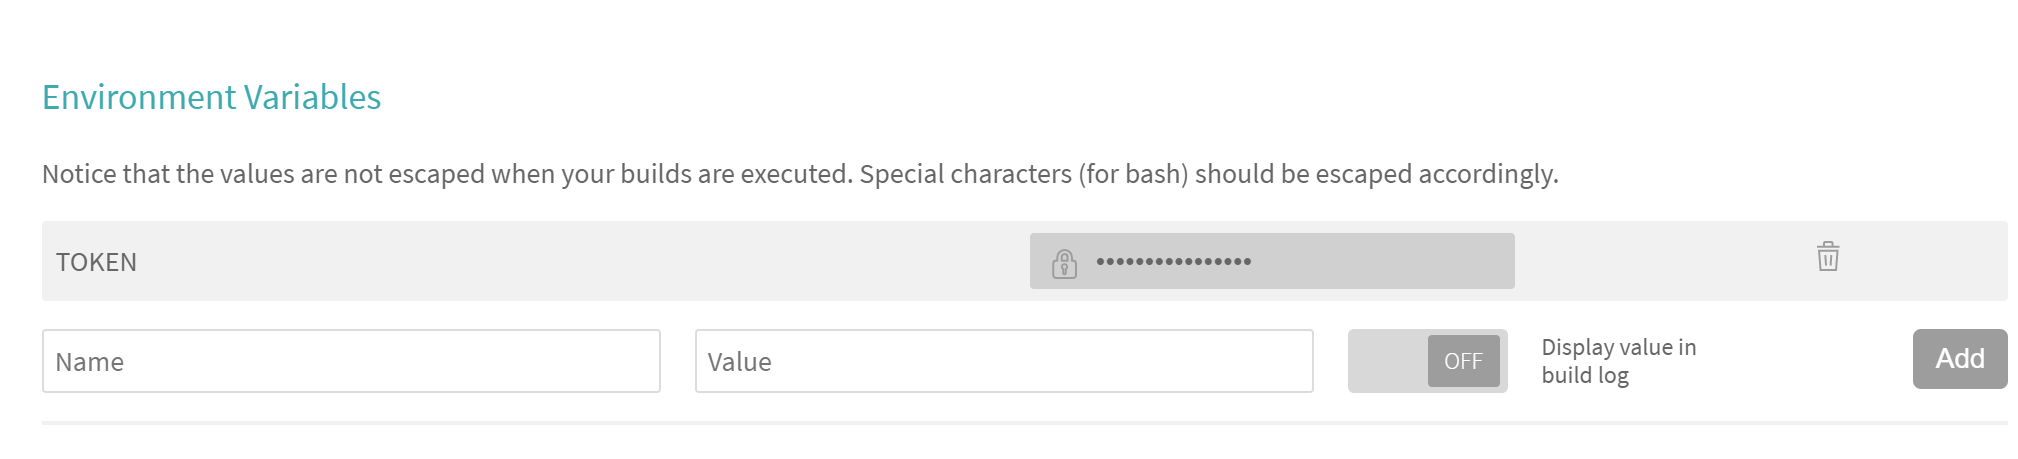
As a requirement I had for myself, I wanted to make sure that after every update to the code a new release was created as well. To do that, however, you’ll need a Personal Access Token from GitHub. As you don’t want that token to sit around in your files on GitHub you can add a Environment Variable in Travis-CI with that token. The default setting is that Travis doesn’t show the value in the logs to protect it from being seen by others. The image below is how it looks for me, with a variable called TOKEN
As you push your code to GitHub, the only additional file you need for Travis-CI to work is a file called .travis.yml.
## We don't need elevated privileges
sudo: false

## The language should be Go and we'll use version 1.8.3
language: go
go:
- 1.8.3

## The below statement skips all branches that start with a 'v' (e.g. v1) so that we can have working branches that get committed.
branches:
  except:
  - /^v.*/

## Install the dependencies we need
install:
- go get github.com/TIBCOSoftware/flogo-lib/...
- go get github.com/TIBCOSoftware/flogo-contrib/...
- go get github.com/stretchr/testify/assert

## The script is the same as it was in Jenkins, though joined to be a single line
script:
- for path in ./activity/*; do [ -d "${path}" ] || continue; dirname="$(basename "${path}")"; go test ./activity/$dirname; done; zip -r release.zip ./activity/ ./connector/

## After a successful build, we want to create a new release on GitHub in case the build was tagged. This was we can have more control over when a build is an actual release. The release will have the same name as the tag
deploy:
  provider: releases
  api_key: $TOKEN
  file: "release.zip"
  skip_cleanup: true
  on:
    tags: true
Conclusion
With both Jenkins and Travis-CI you can very easily set up continuous testing and continuous delivery of your Flogo activities. Go check out Project Flogo and let me know what you’ve built!